
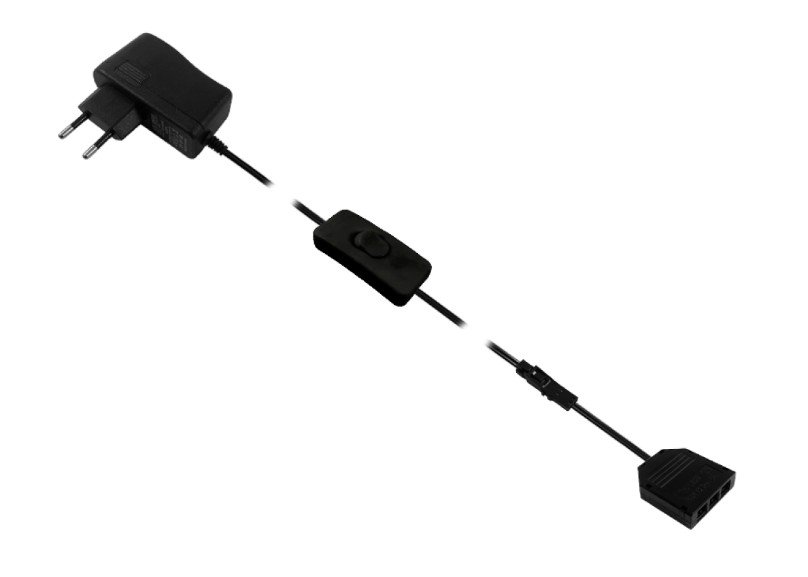
When a Complete Furniture Lighting Kit Makes Installation Easier
Start with the complete installation task
Buying individual fixtures, wires, controls and power components can work well for a custom project, but it requires accurate coordination. A complete furniture lighting kit can simplify procurement when its included parts suit the intended arrangement. Begin by drawing the furniture and marking every point that needs light. Then identify the number of luminaires, connection lengths, preferred switching method and available electrical supply. This ensures the kit is judged against a real installation rather than by package contents alone.
Read the component list carefully
Products described as lighting kits vary widely. Some contain several light modules and leads; others may also include a power supply, control unit or mounting accessories. Never infer that a driver, extension cable or sensor is included without checking the exact product specification. Write a checklist of required parts and compare it against the listed package contents. Small missing components often cause more installation delays than the luminaire itself.
Choose a layout that matches the furniture
Three cabinets of equal width are a very different lighting project from one long bookcase with uneven shelves. Count individual lighting positions and measure the distance from each position to the likely cable junction. Lighting Kit is one product category to compare against these installation requirements. Verify that the fixtures will fit beneath shelves, inside drawers or in the required recess. A kit with the right number of fittings may still be unsuitable if its cable arrangement cannot follow the planned route.
Check voltage and total electrical load
Lighting modules, power supplies and switches need compatible electrical ratings. Use the voltage stated for each component and calculate the total load from the actual listed wattages. If a proposed installation needs more fittings than the kit provides, confirm the maker’s expansion guidance before adding extra modules. The finished circuit must stay within the driver and controller ratings, including any restrictions on cable length or connector capacity.
Plan mounting and hidden connections
Preassembled leads save time only if they can reach the installed fittings without crossing visible surfaces. Plan cable holes behind panels, away from hinges and shelf brackets. Determine whether each fitting snaps into a clip, needs screws or requires a prepared recess. Test the complete kit on a workbench before closing the furniture. This confirms that the lights, leads and any control module work together as intended.
Decide whether one control suits every zone
A single switch is convenient for a row of identical cabinets used together. Separate zones are more useful when work lighting, decorative shelving and storage compartments have different operating schedules. Check whether the chosen kit supports grouped or independent switching. Where it does not, another configuration or multiple kits may fit the project better. Control planning is easier before the wiring channels and access panels have been completed.
Evaluate light quality, not just convenience
A kit is still a lighting product, and its beam angle, colour temperature and diffuser design influence the space. Warm light can complement domestic display shelving, while neutral light is often chosen for practical storage and work areas. Position a sample fitting under a representative shelf and look for shadows, glare and visible LED points. A kit that installs quickly but produces uncomfortable light is not a successful shortcut.
Leave access for future maintenance
Connectorized systems can be easier to troubleshoot because individual connections may be checked separately. Keep junctions accessible where the design allows, and do not trap power equipment behind permanent finishes. Record the kit model and any added components for future replacement. A simple wiring photograph taken before the back panel is fitted can be valuable when a cabinet is moved or modified years later.
Use a kit when its configuration fits
A Lighting Kit is a practical product category to examine when planning a repeatable installation across multiple furniture compartments. Compare the exact package list, module dimensions, power ratings and wiring plan with the project requirements. The strongest reason to choose a kit is component compatibility and a clear installation path, not merely the convenience of one purchase.
Example: three matching display compartments
A furniture maker is fitting lighting to three equal compartments in a fitted wall unit. Each compartment needs one narrow light, and the user wants all three to switch on together. The first task is to measure the lengths and mark the desired mounting setback. The next is to check whether a proposed kit contains the correct number of modules and cables long enough to reach the shared connection point. A bench test confirms the parts are electrically compatible. The cabinet maker prepares cable holes, installs the lights and labels the leads before fitting the back panels. Final testing checks uniformity across all three compartments. A preselected kit can save coordination work when its actual contents fit these exact needs.
Comparing a kit with separate components
A complete package reduces the number of compatibility decisions, but individual purchasing gives greater freedom over luminaire lengths, beam shapes and control layout. Prepare two material schedules for comparison. The kit schedule should include its included components and any extra extension leads or mounting accessories. The bespoke schedule should include every driver, controller, luminaire, connector and cable required to complete the same layout. Compare total cost, installation time and future availability of replacements, not simply the headline price. If the furniture has unusual dimensions or several independently controlled lighting zones, individually specified components may produce a cleaner technical solution.
Before handing over the furniture
A completed kit installation should be demonstrated in the presence of the furniture user. Show how each light activates, how any sensor behaves and how to access controls without interfering with stored objects. Where the kit has a separate power supply, identify its location and confirm that it remains accessible. Keep the product information and wiring arrangement together with the furniture paperwork. Inspect any visible diffuser joints, cable entries and mounting caps for neatness. Finally, assess the beam with realistic items on the shelves, not only in an empty cabinet. This closing inspection turns a collection of packaged parts into a finished, maintainable piece of furniture.
For related furniture and architectural lighting components, the LEDUA catalogue https://leduastore.com/ offers a wider range of fittings, electrical accessories and installation options. Select each component from its actual technical documentation and coordinate the complete assembly before installation.